
Top 3 secrets for great real estate photos
Have you ever looked at photos of a house for sale and something just doesn't seem right about them, but you can't put your finger on what it is? By then, the viewer has probably lost interested, moved onto the next listing and the opportunity is lost. Real estate photography sounds easy right? grab a camera and a wide angle lens, maybe a tripod?.. you’re all set right? Heck no.
Real estate photography is not only an art, it’s a science and a huge reason why you can often find low-priced property photographers is simply because these photographers grabbed their camera, wide angle lens and maybe a tripod, practiced their art at a house, but don’t have the understanding of what is actually required to create great quality real estate photos which will capture potential buyers attention.
We're about to let you in on our top 3 secrets of GREAT real estate photography… why would we give away our secrets? - They aren’t actually secrets, they should be standard practice in the real estate industry (and if the photographer understands both the art and science, this is what they will deliver).
1. Perspective
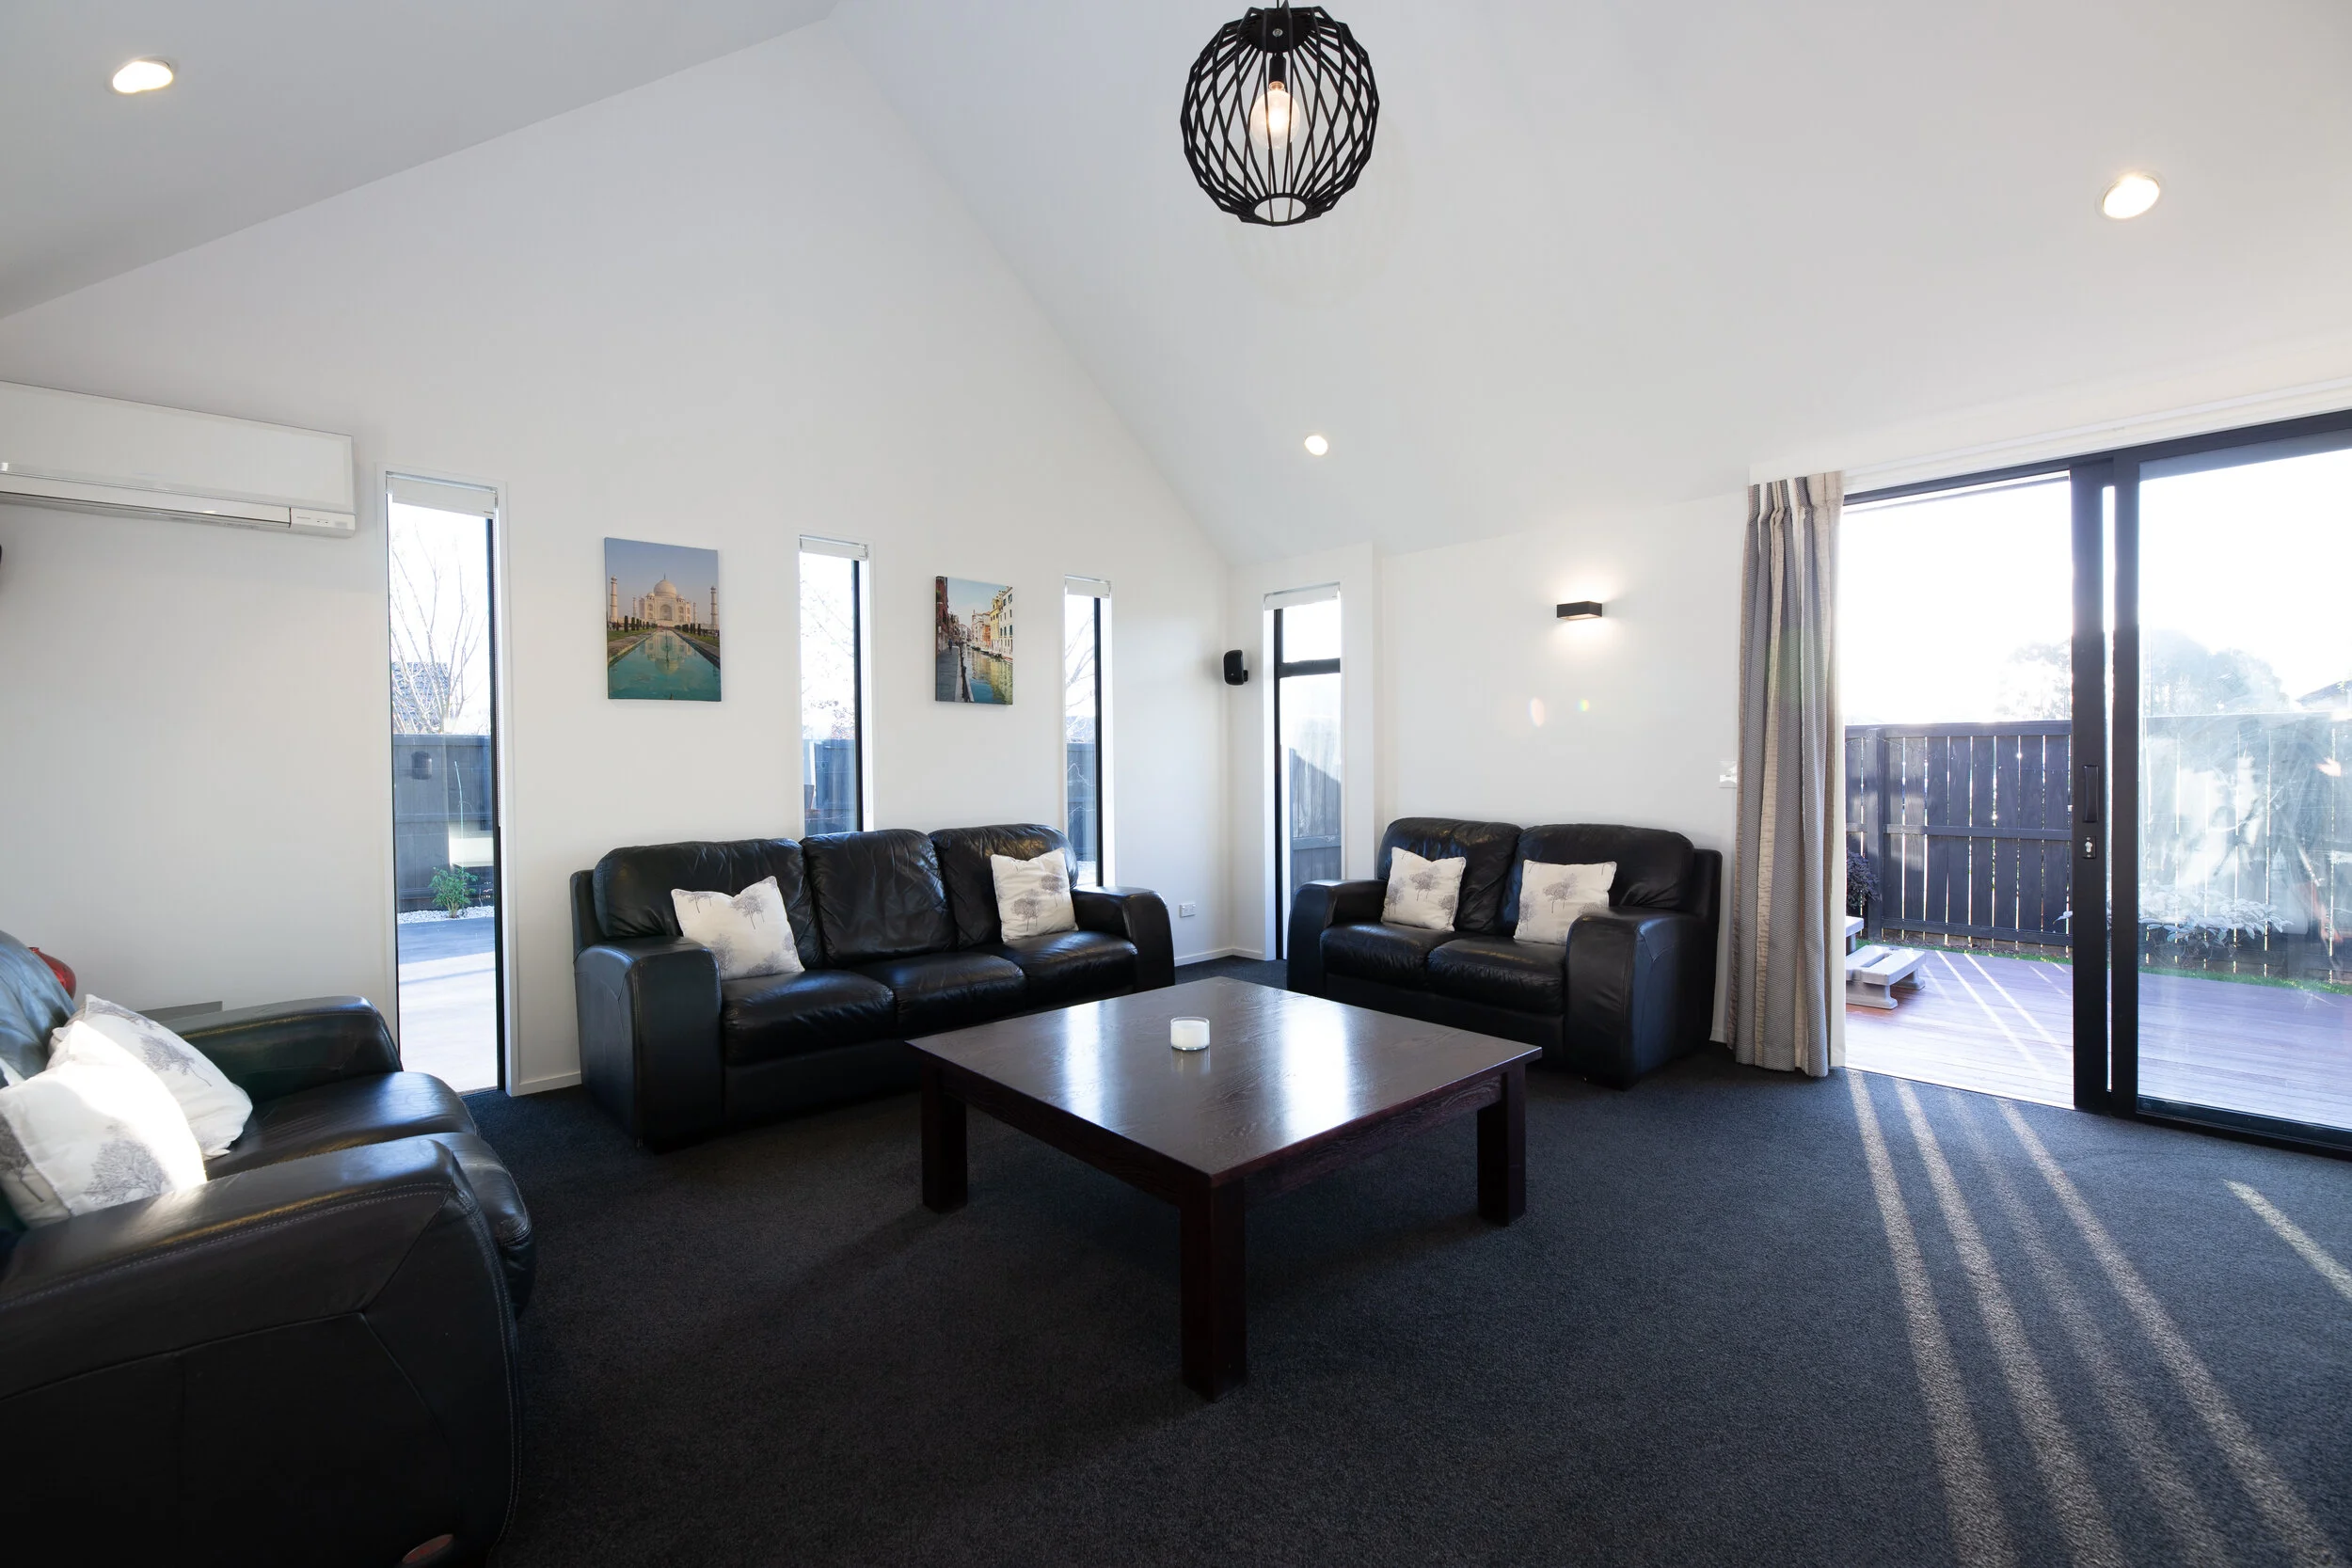
If you're an agent, go and have a look at your recent listing photos... does something feel a bit off with some photos? It might be because the photo doesn't follow the 2-wall rule of composition. Have a look at this example below. The first one looks OK, but something doesn’t quite feel correct ot the eye, it’s sort of a distorted look, it just feels uncomfortable to look at - notice the camera is angled toward the diagonal corner? In this style of real estate photo (which is the most common and suits most rooms), only the two walls either side of the corner should show in the photo. The result is a perfectly composed 2-wall, angled photo which is easy to look at, is clean and clear and pleasant to the viewer’s eye.


2. Flambient Vs HDR vs SIngle Exposure
Flambi -what?!? A room is made up of many light areas and areas of shadow. Take a look at our example below. The first photos is correctly exposed for the carpet on the right hand side, the walls and the ceiling, but it’s too bright (or over exposed) in the windows and too dark (or under exposed) around the couches and table. It is absolutely impossible to get a perfectly exposed photo with a single image for a room like this, and this is a pretty typical room in a house.
With a single exposure now eliminated, let’s talk about HDR (the second photo in our examples below). This is a blend of multiple images (tripod required!) taken from under exposed through to over exposed. The couch area is a little brighter, the windows are a little darker - making the image a little easier on the eye, but it’s still far from perfect. Overall, the room looks dark inside and the outside looks bright and you’ll also notice the walls are quite yellow (they should be white) and the desk has a purple/blue tinge to it. Believe it or not but many, if not MOST real estate photographers in New Zealand use this method. It fast to capture, fast to edit and provides a low-cost property photography option.
Because we don’t think HDR images are an acceptable way to deliver photos for real estate (no matter whether it’s a 1950’s 2-bedroom unit or a newly-built, architecturally designed house with a view), we’ll introduce you to flambient. Deriving it’s name from ‘ambient’ and ‘flash’, flambient provides a final image which is pleasant to look at, evens out the light across the room and outside and really gives the potential buyer the correct feel of what it would be like to be in that room with their own eyes. This method blends multiple images at varying exposures (dark to light) as well as images with pops of light from a flash in strategic places around the room. This is the ultimate in art and science because, the light is ‘hand-painted’ in during the edit process and only works if the light has been placed in the correct places and at the correct angles.


3. Window Pulls
Try this in a room with a window, during day time: SImply with your eyes, (not using a camera) look around the room, around the inside of the room, then look out the window - you can see everything inside and everything outside right? Your eyes automatically adjust to the light you are looking at.. Here’s the problem with real estate photography, camera’s can’t, so we have to revert to the digital darkroom for a bit of a helping hand.
If the photo is exposed for the inside, the view out the windows will be 'blown out’ (too bright) - no detail can be seen, as per the first photo in our examples below. If it’s bright outside and the photo is exposed so you can see outside correctly in the photo, the inside of the room will be very dark (example photo number two). Number three is a blend as per the flambient method above, where the window is actually edited in by hand after the room ambient and flash room images have been blended, to create an image which is how the human eye would see it in person.


We’ve ruined you now haven’t we. You’ll never be able to look at another real estate photo without picking it to pieces.. well actually we encourage that, because the more great real estate photos there are, the more this industry will grow and prosper and we think that’s worth it.